Remove clip-ins safely in 5 minutes! Learning to remove clip in hair extensions properly prevents damage to your natural hair.
Table of Contents
Why Is It So Important to Safely Remove Clip in Hair Extensions
Data Comparison: Correct vs. Incorrect Removal Effects
| Metric | Correct Removal | Incorrect Removal |
|---|---|---|
| Clip Lifespan | 6–12 months | 1–3 months |
| Hair Breakage | <5% | 30%+ |
| Follicle Damage | Low Risk | High Risk |
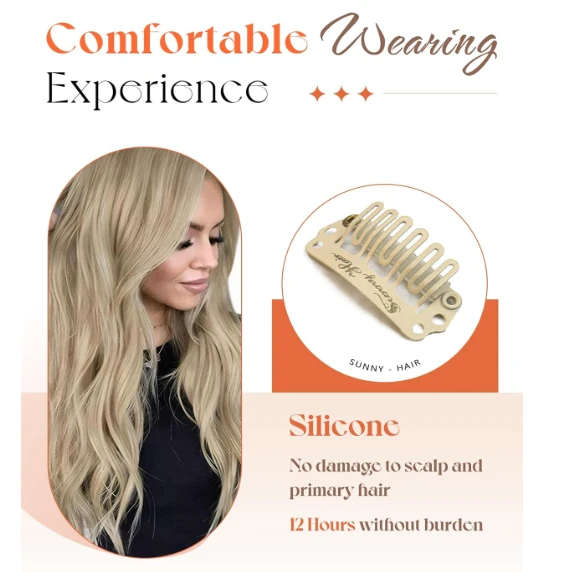
Some Tools to Remove Clip in Hair Extensions
| Tool Name | Purpose | Recommended Type/Material |
|---|---|---|
| Wide-tooth Comb | Detangle knots | Natural ox horn (anti-static) |
| Conditioner Spray | Lubricate hair to reduce friction | Detangler Spray |
| Alcohol Wipes | Clean residue from clips | 75% medical-grade alcohol |
| Storage Pouch | Extend extension lifespan | Dust-Proof Storage Bag |
| Flat Tweezers | Fix slightly deformed springs | Stainless steel anti-static |
4 Steps to Remove Clip in Hair Extensions
Step 1: Start from the Bottom Layers
When removing clip in extensions, always start from the bottom layer. Gently locate the clips at the base of each weft.
Step 2: Unclip Gently
Use your fingers to press the clip open and slide it out slowly. Avoid pulling—this protects both your natural hair and the extensions. Take extra care if you have fine or fragile hair.

Step 3: Work Upward Section by Section
After removing bottom wefts, move to middle and top sections. Repeat: locate clips, press open, and slide out gently. Pro tip: Use a mirror to check for missed clips!
Step 4: Detangle and Store Properly
After removal, detangle extensions with a wide-tooth comb starting from the ends. Store them flat in a silk pouch or original packaging to prevent tangling.

Post-Removal Care Guide for Clip in Hair Extensions
(1) Extension Maintenance Checklist
✓ Wipe clip interiors with alcohol wipes to remove residue
✓ Store extensions flat in a silk storage pouch
✓ Test spring elasticity by pressing 3 times (ensure proper reset)
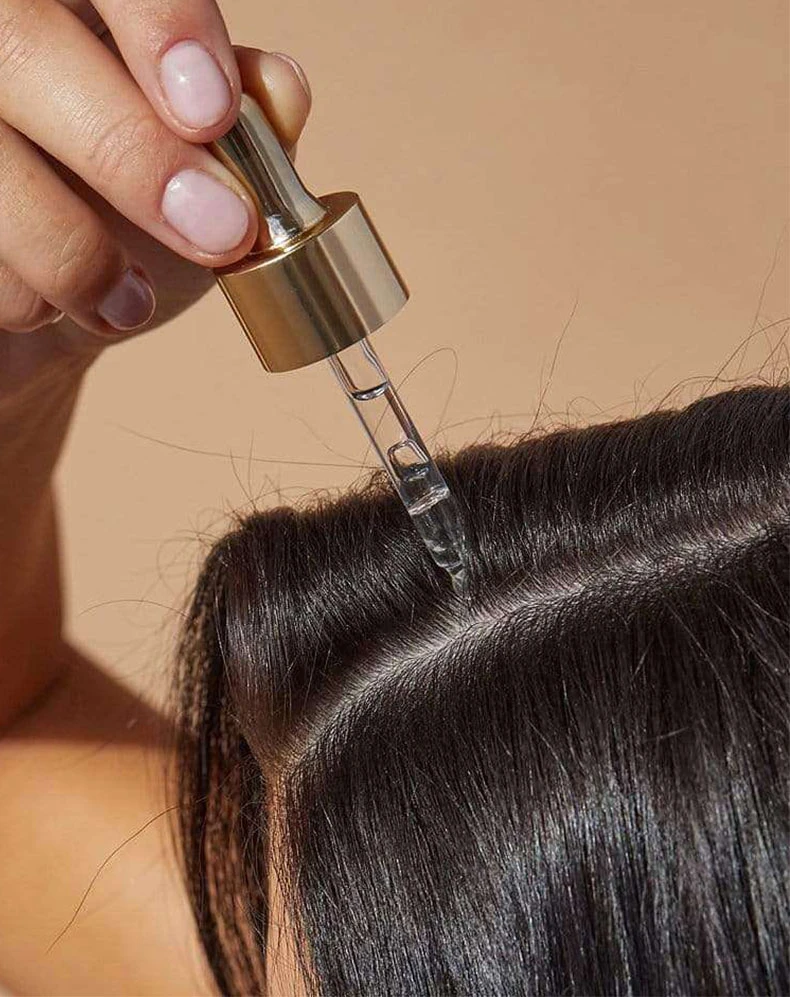
(2) Scalp Care Routine
✓ Wash scalp with a gentle shampoo (optimal water temperature: 38–40°C)
✓ Apply conditioner with centella asiatica extract, massaging clip contact areas
✓ Use a hair mask weekly to repair potential mechanical damage
Troubleshooting Common Issues
| Problem | Immediate Solution | Long-Term Prevention |
|---|---|---|
| Clips tangled in hair | Spray conditioner, gently wiggle clips 3x before removal | Comb natural hair thoroughly before wearing |
| Loose spring clips | Use tweezers to gently stretch spring ends back into shape | Avoid pressing clips beyond 90° angle |
| Redness after removal | Apply a cold compress for 30 seconds; avoid wearing extensions immediately | Limit daily wear to ≤8 hours |
| Excessive shedding from extensions | Check if clips are secured at hair layer splits | Use the “sandwich clip method” for firmer hold |
FAQ & Quick Tips
Professional Tips
✔ Inspect clip teeth for trapped hair for 30 seconds after each removal
✔ Rotate between 2 sets of clips for long-term use to extend lifespan
Conclusion
Mastering proper removal protects your natural hair and maximizes extension use. Remember: gentle care for every strand is an investment in long-term beauty. Bookmark this guide and refer back before your next removal!
Still need help?
We are here for you!
If you have any other questions or concerns about how to remove your clip in hair extensions, please feel free to contact us anytime. Our dedicated after-sales team is ready to provide you with the best service! 😊
Pingback: How to Apply Clip in Hair Extensions?
Pingback: How to Apply Clip in Hair Extensions? – Sunny Hair Support
Pingback: FAQs about Clip in Hair Extensions