Learning how to install tape in hair extensions properly is essential for a seamless and natural look. In this step-by-step guide, we’ll cover how to install tape in hair extenisons and make your hair amazing! ⭐
Get Ready To Install Tape In Hair Extensions
Hair Cleanliness 💧
Wash hair with a clarifying shampoo 24-48 hours prior to installation. Avoid using conditioners, oils, or styling products afterward, as residue can reduce adhesive grip.
Scalp Health 💆♀️
Ensure your scalp is free from cuts, irritation, or infections. Avoid installation if you have active scalp issues.
Allergy Test 💈
Perform a patch test with the adhesive tape 24-48 hours beforehand to check for allergic reactions.
Hair Quality ✅
Extensions work best on medium to thick hair. Very fine or damaged hair may lack the strength to hold tapes securely.
Avoid Chemical Treatments ❌
Do not perm, color, or chemically treat your hair within 1–2 weeks before installation.
Dry Hair 👱♀️
Ensure hair is completely dry before application. Moisture weakens the adhesive bond.
Begin To Install Tape In Hair Extensions
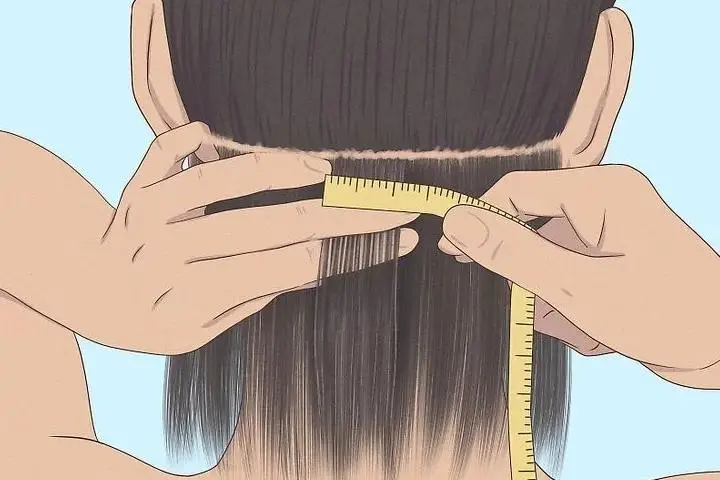
Step 1 – Section Your Hair
Part your hair horizontally just above your ears, clipping the top section away.
Divide the bottom section into horizontal rows (1-2 cm thick) using a rat-tail comb.
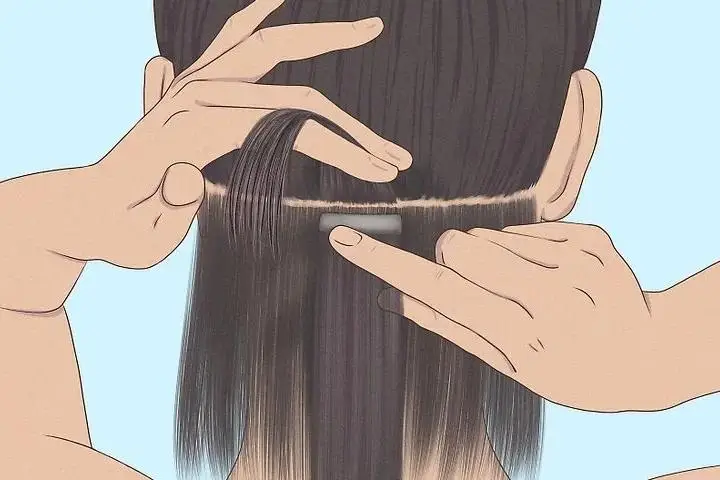
Step 2 – Apply the Extensions
Peel off the protective tape from one side of the tape tab on an extension weft.
Take a thin subsection of natural hair (matching the width of the extension).
Pleas Note: Too thick = bulky / Too thin = weak hold.
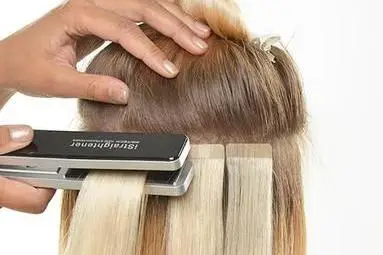
Step 3 – Seal the Tapes
Add a flat iron to low heat (120-150°C / 250-300°F).
Gently clamp the tape area for 3-5 seconds.
Avoid overheating to prevent adhesive damage.
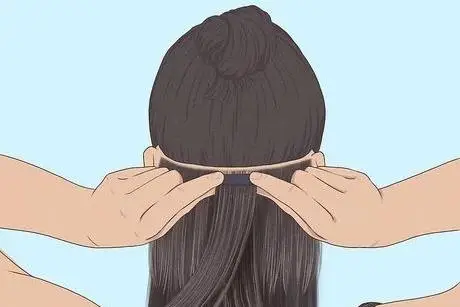
Step 4 – Blend and Style
Release all clipped sections and comb through hair gently.
Trim or layer the extensions if needed to match your natural hair.
Style as desired, avoiding direct heat on the tapes.
Notes On The Installation Process

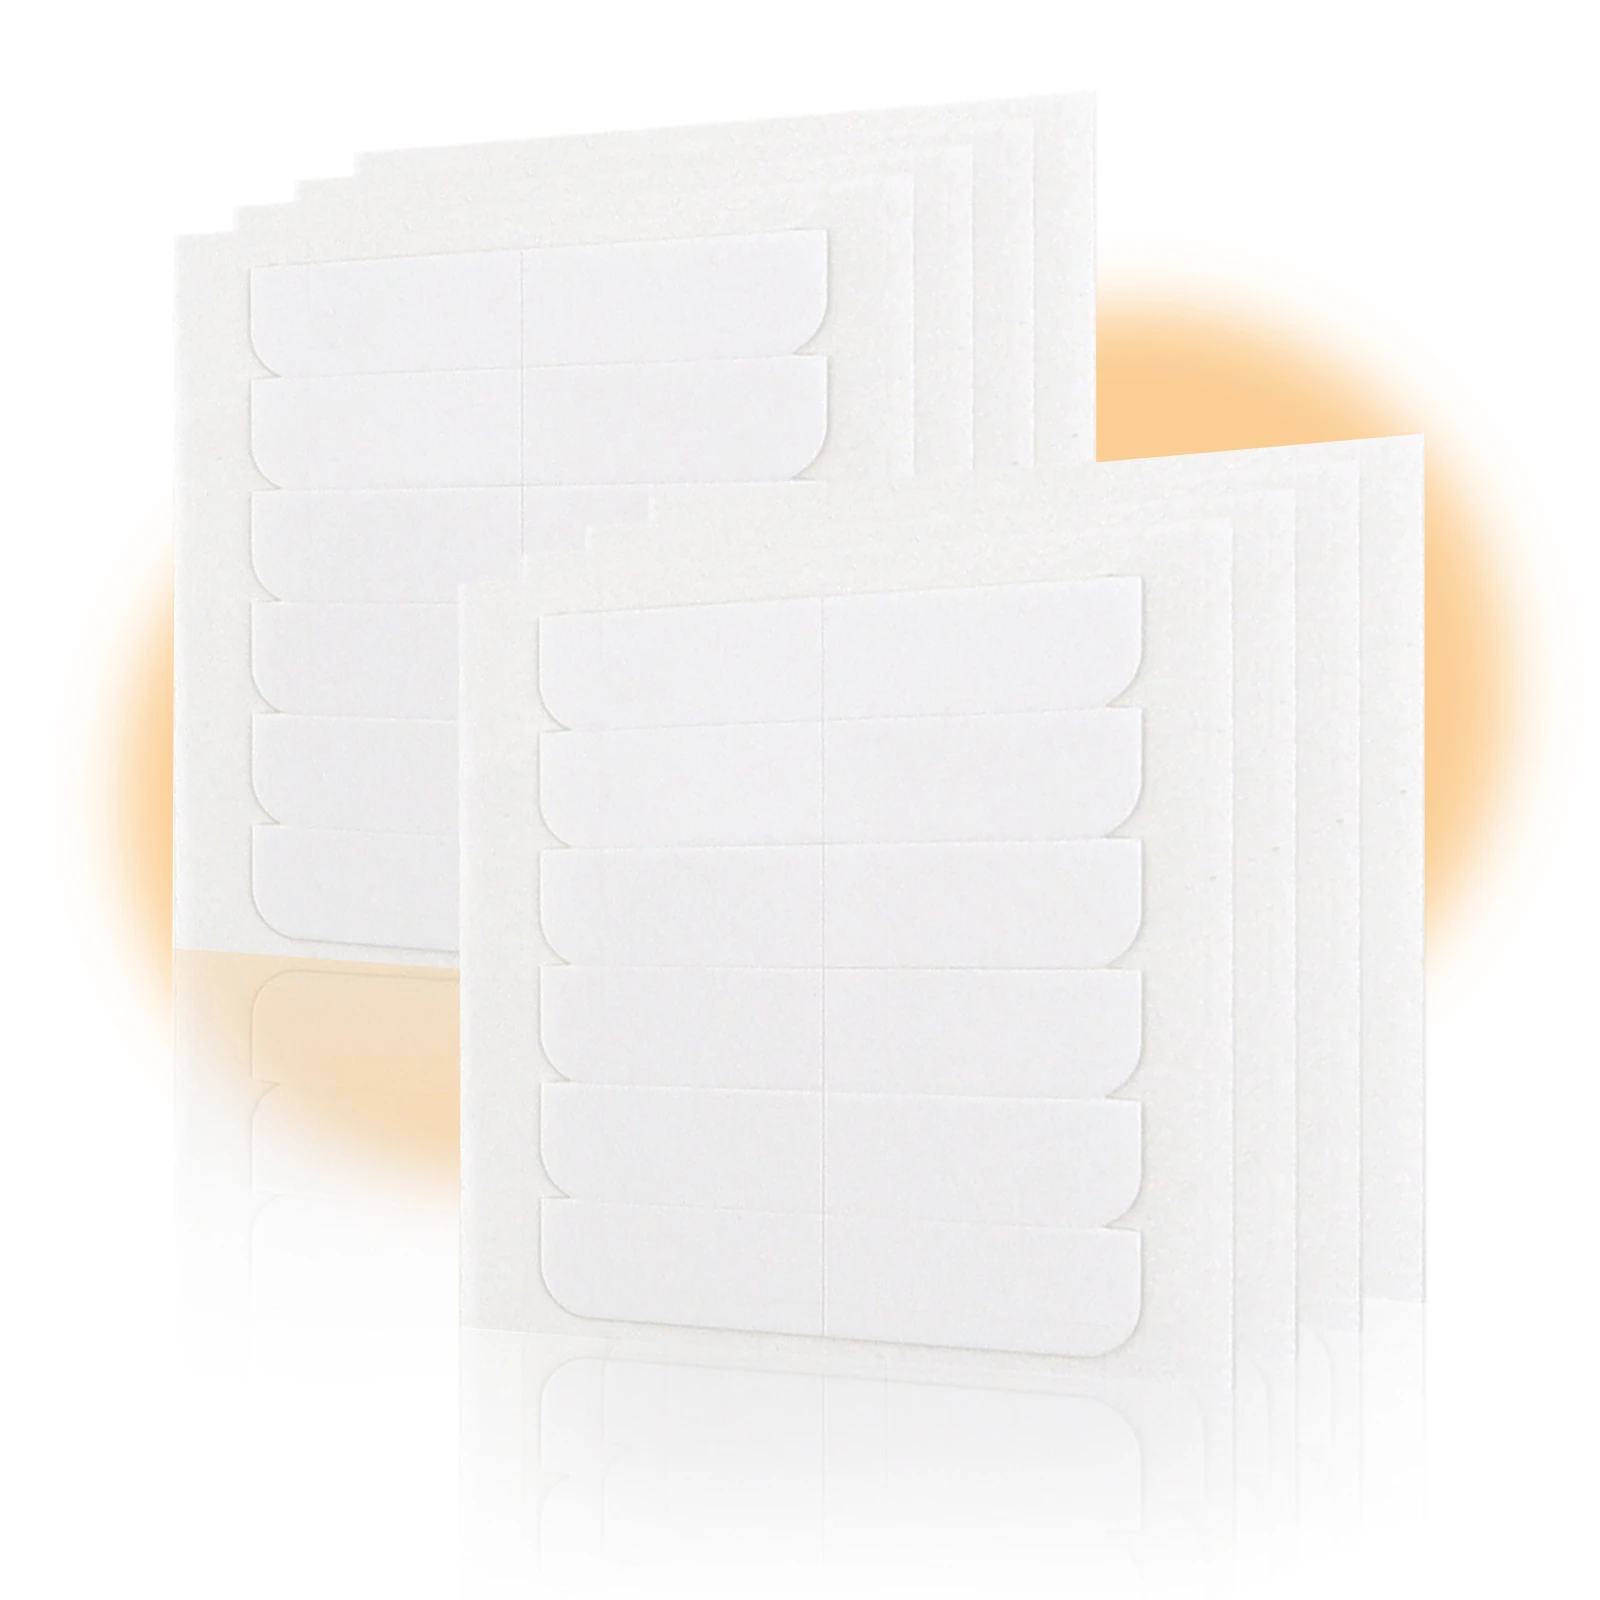
Problems With The Tape?
The tape may lose its stickiness due to factors such as storage time, ambient temperature, or application methods. To address this, we will provide a compatible replacement white tape.

Learn More About Tape In Hair Extensions
Proper care for tape in hair extensions is essential to maintain their quality and longevity. Read Maintaining Your Tape in Hair Extensions, your tape in hair extensions will stay soft, shiny.
In addition, read Tape in Extensions Problems & Solutions—The right solutions can make your hair extensions more long-lasting.
The Tutorial About How To Install Tape In Hair Extensions
installation tape-ins/ tape not sticking/ tape doesn’t work/ tape quality/ tape not good/ stickiness/ bad tape/ stronger tape
Pingback: Common issues with tape ins and their solutions – Sunny Hair Support