Summary: To prevent bead loss and extend the life of Micro Link Hair Extensions, proper Micro Link Hair Extensions Installation and daily care are essential. This guide explains every important step—from preparing your hair with alcohol swabs to crimping each bead correctly—and shares practical maintenance tips to help your extensions stay secure.

As Allure notes, “The longevity of micro extensions relies heavily on technique, not just the product itself.” By following this Micro Link Hair Extensions Installation guide, you can achieve longer-lasting extensions while protecting your natural hair.
Micro Link Hair Extensions Installation
Preparations Before Installation
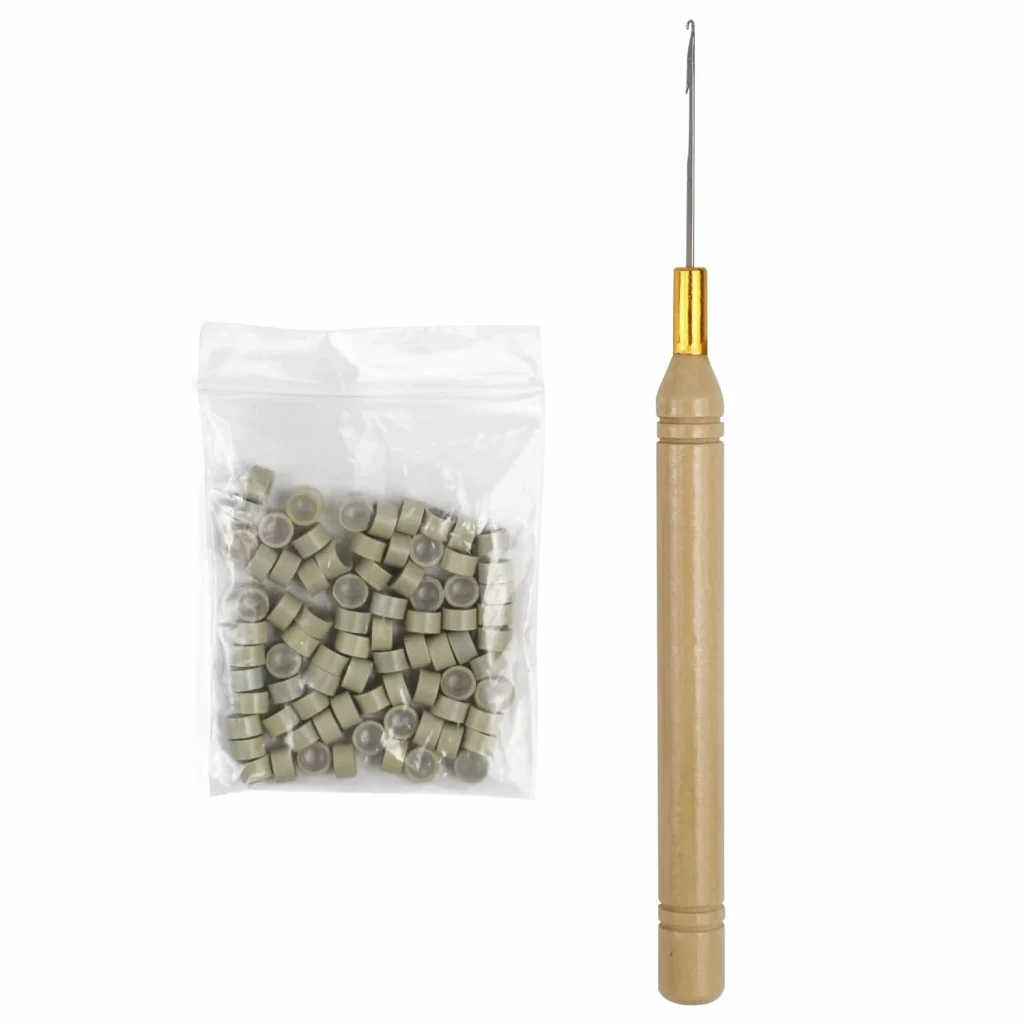
Before starting your Micro Link Hair Extensions Installation, gather the necessary tools and make sure your hair is clean, completely dry, and free from oils or styling products.1
| Tool | Purpose |
| Miniature bead pressers | Distributes pressure evenly to prevent bead deformation and improve hold. |
| Silicone anti-slip microbeads | Increase friction with the hair shaft to reduce slipping using an inner silicone ring. |
| Tail comb | Creates clean, precise sections for accurate placement. |
| Alcohol swabs | Remove oils and residue to improve bead grip. |
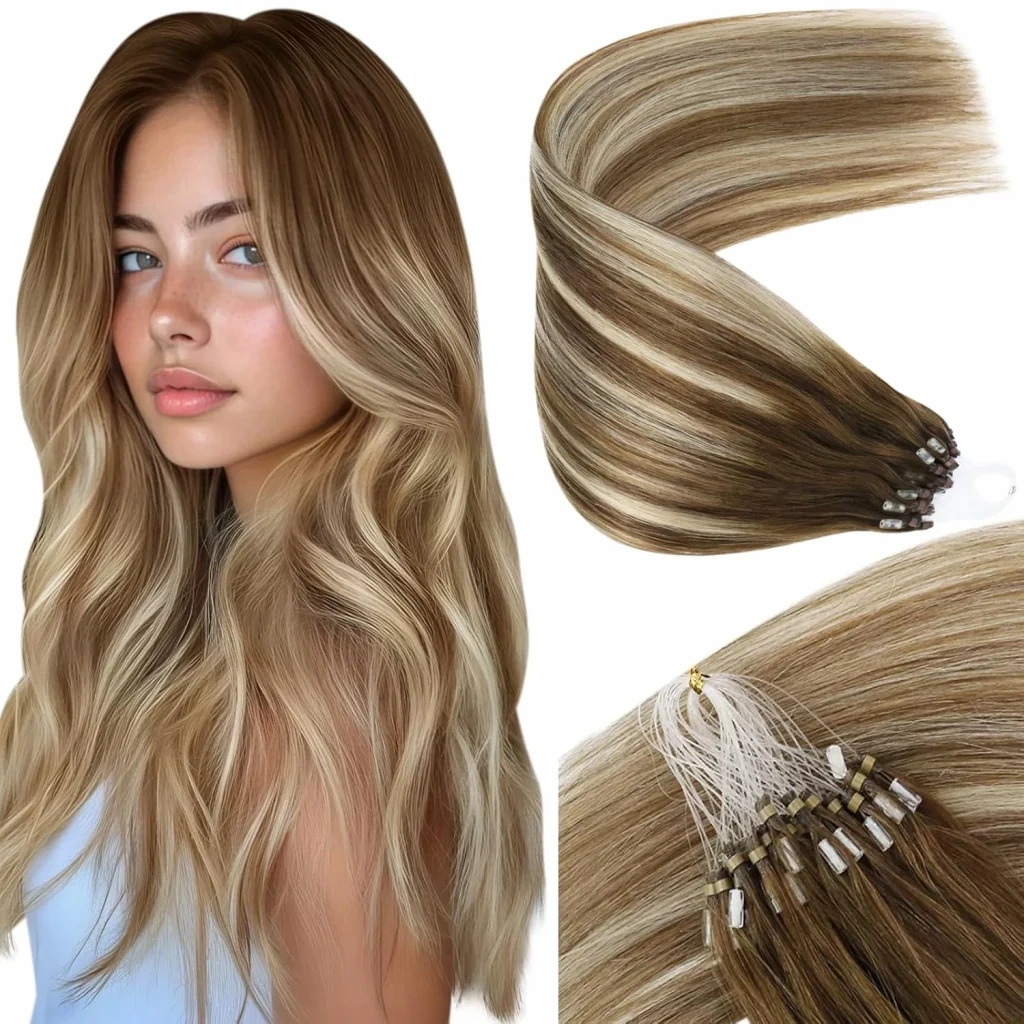
Micro Link Hair Extensions Installation Step by Step
Step 1: Clean & Section
Q: Why should hair be completely dry and oil-free?
A: Natural oils significantly reduce the bead’s grip, making extensions more likely to slip after installation.
Step 2: Thread & Position the Bead
Q: How do you ensure the bead is facing the correct direction?
A: The silicone ring inside the bead should always face the scalp. Proper orientation helps maximize grip and prevents unnecessary slippage.
Step 3: Crimp the Bead Securely
Q: How much pressure is correct?
A: Too little pressure may allow the bead to loosen over time. Too much pressure can crack the bead or damage natural hair. The ideal result is a firm flattened oval—not a crushed or distorted bead.
Step 4: Check the Hold
Q: What should I do if a bead spins or slides after installation?
A: This usually means the bead was not crimped firmly enough. Re-crimp the same bead using your pliers until it no longer rotates or slides.
Daily Care After Micro Link Hair Extensions Installation
Gently comb your hair from the ends towards the roots, avoiding the area around the beads.
Wash gently, lathering the shampoo before applying it to the hair, avoiding direct rubbing of the beads; after washing, gently pat dry with a towel, do not wring.
First, use a low heat setting to dry the roots, then dry the ends. Hold the hairdryer at least 15cm away from the beads, and do not blow directly onto the beads.
You can tie your hair in a loose low ponytail or wear a sleeping cap when you sleep.
FAQ About Micro Link Hair Extensions Installation

Learn More: For comprehensive information on hair health and extension risks, refer to guidance from the

- Pro Tip: Using tools designed for microbead extensions (e.g., specific plier models and correctly sized beads) yields the best results. ↩︎
Need help for extensions?
We are here for you!
If you need any help for hair extensions, please feel free to contact us anytime. Our dedicated after-sales team is ready to provide you with the best service! 😊
microlinks,micro link hair extensions,micro links,extensions micro links,link hair,micro link extension hair,micro loop,microlink extensions,i link hair extensions,microlinks near me,microlinks hair,microlink hair extensions near me,loop hair extensions,microlink extensions near me,micro links near me,loop extensions,loop hair,link hair extensions,micro link hair extensions human hair,micro link human hair extensions,microlinks on short hair,human hair extensions microlink, micro link bead,install microlinks, microlinks installation


