Summary: Whether you installed your weft hair extensions for a special event or have enjoyed a semi-permanent style for months, learning how to remove weft hair extensions safely is just as important as the initial installation. More importantly, using the correct weft extension removal technique helps prevent breakage, shedding, and unnecessary stress on your natural hair. As a result, your natural hair stays healthier throughout the removal process. In this guide, you’ll learn how to remove weft hair extensions for Sew-In, Glue-In, Micro Ring, and Clip-In methods while protecting your hair from damage.
Quick Removal Checklist
✔ Identify your weft hair extension installation method before beginning removal, as each type requires different tools and techniques.
- Never pull or yank extensions. Instead, separate each section gently to protect your scalp and roots.
- Next, choose the correct solvent for your specific adhesive. Oil-based and alcohol-based removers work differently, so using the wrong one can make the process more difficult.
- Finally, finish the removal process with a deep conditioning treatment to restore moisture and strengthen your hair.
General Preparation: What You’ll Need
Before you begin, gather the necessary tools to ensure a smooth removal process. This preparation not only saves time but also reduces the risk of unnecessary tangles.
- Sulfate-Free Clarifying Shampoo: This gently removes buildup without stripping natural oils, which is vital for post-removal scalp health.
- Isopropyl Alcohol (91%): A high-concentration solvent effective for breaking down medical-grade adhesives used in glue-in methods.
- Extension Remover Spray (Oil-based or Alcohol-based): Choose based on your glue type. Oil-based removers are gentler on the scalp, while alcohol-based options work faster on strong bonds.
- Nail Clippers or Wire Cutters: Ideal for safely cutting thread or micro rings without tugging.
- Fine-Tooth Comb with a Long, Pointed Handle (Rat-tail Comb): For precise sectioning and gently unraveling braids.
- Wide-Tooth Comb & Detangling Brush: To work through knots post-removal without causing breakage.
- Curved Embroidery Scissors: Their small, angled tip helps you snip threads close to the braid without accidentally nipping your scalp.
- Hydrating Hair Mask & Lightweight Oils: For post-removal repair (e.g., Jojoba or Grapeseed oil for fine hair, Argan oil for thicker textures).
How Do I Remove Sew-In Weft Extensions Without Losing My Natural Hair?
If you need to remove sewn-in weft hair extensions, always begin by locating the sewing thread rather than pulling on the weft itself. Proper thread removal protects both the braid foundation and your natural hair.
Locate the knots at the ends of the braid row. Using your curved scissors or nail clippers, carefully snip the nylon thread. Do not pull the thread—instead, cut it in several places along the weft to release tension. This prevents accidental cuts to your natural hair.
After the thread has been cut, gently slide the hair attachment away from the braid. If it catches, however, stop and check for additional thread loops before continuing.
Then, use your fingers or the pointed end of a rat-tail comb to carefully undo the cornrows holding your natural hair.
Important: Avoid brushing wet hair immediately after undoing the braids. Instead, finger-detangle first to remove naturally shed strands, which helps prevent unnecessary breakage.
Once the braids are removed, wash your hair thoroughly with a clarifying shampoo to eliminate product buildup and residue.
Finally, use a detangling brush together with a mirror to check the back of your head for hidden knots. Afterward, apply a deep conditioning mask to restore moisture because cleansing and conditioning serve different recovery purposes.
How Do I Remove Glue-In Extensions Without Damaging My Hair?
To safely remove glued weft hair extensions, use an adhesive remover designed for professional hair extension bonds before attempting to separate the weft.
First, part your hair to expose the base of the extension strip. Spray a generous amount of adhesive remover or apply isopropyl alcohol (91%) along the glued seam. Then allow it to sit for 3–5 minutes so the bond can soften. If you’re using an oil-based remover, let it penetrate for a few extra minutes.
Next, gently peel the weft away from the scalp while supporting your natural roots with your other hand. This way, you reduce tension on the hair follicles.
Afterward, remove any remaining adhesive with a wide-tooth comb dipped in remover. Avoid rubbing or picking at the glue because doing so may cause tangling.
Finally, shampoo your hair two or three times with a clarifying formula to remove every trace of adhesive. As a result, your scalp stays clean and your roots remain lightweight.
When to See a Professional: If you encounter severe matting or the glue does not soften after multiple remover applications, stop immediately and visit a stylist to avoid tearing your hair.
How Do I Remove Micro Ring / Bead Weft Extensions Safely?
Removing micro ring weft hair extensions requires opening each bead completely before sliding the extension from your natural hair.
First, avoid sliding the hair out of a closed micro ring. Instead, use pliers or a ring-opener tool to gently open the bead from both sides.
After opening the ring, the extension should slide out smoothly. If it doesn’t, reopen the bead slightly wider rather than pulling harder.
Next, run your fingers along each strand to make sure no beads remain hidden in your hair.
For the best results, work under bright lighting and use a second mirror to inspect the back of your head.
How Do I Remove Clip-In Weft Extensions Quickly?
Clip-in wefts are the easiest weft hair extensions to remove, making them ideal for daily wear and temporary styling.
Begin with the bottom row of clips and gently push each clasp open using your thumb.
After each clasp is open, carefully wiggle the extension free while working from the bottom upward.
Lastly, brush each weft gently before placing it back into its original packaging or a silk storage bag.
Comparison Table: Best Ways to Remove Weft Hair Extensions
| Installation Method | Difficulty Level | Estimated Time | Key Tool |
| Sew-In | Moderate | 45–60 mins | Curved Embroidery Scissors |
| Glue-In | Challenging | 60–90 mins | Extension Remover Spray |
| Micro Ring (Bead) | Easy-Moderate | 30–45 mins | Ring-Opener Pliers |
| Clip-In | Easy | 5–10 mins | Thumbs |
FAQ: Remove Weft Hair Extensions
Final Thoughts
Knowing how to remove weft hair extensions correctly is essential for maintaining healthy natural hair. Whether you’re removing sew-in, glue-in, micro ring, or clip-in wefts, take your time and use the proper tools. Most importantly, avoid pulling on the extensions. By following the correct weft extension removal process, you’ll protect your natural hair while extending the lifespan of reusable weft hair extensions.
You might be interested in these:
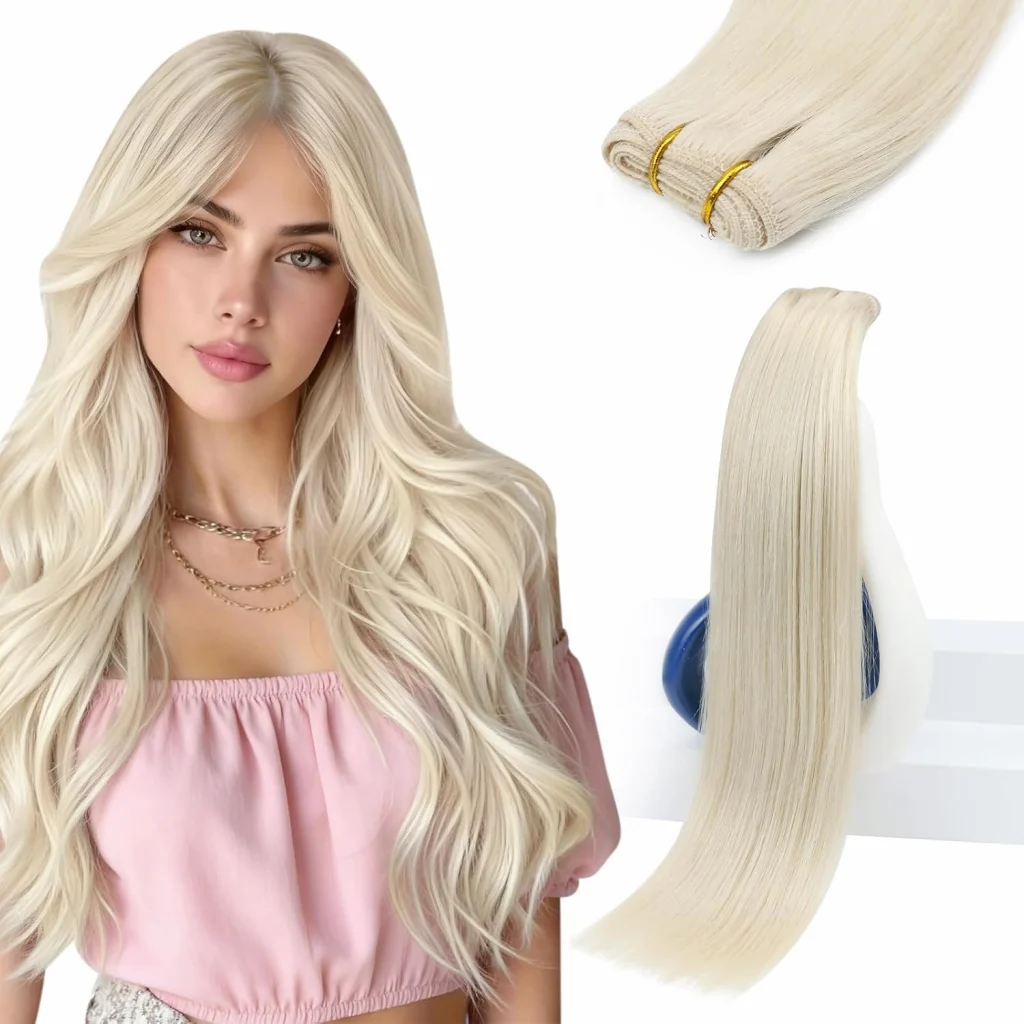
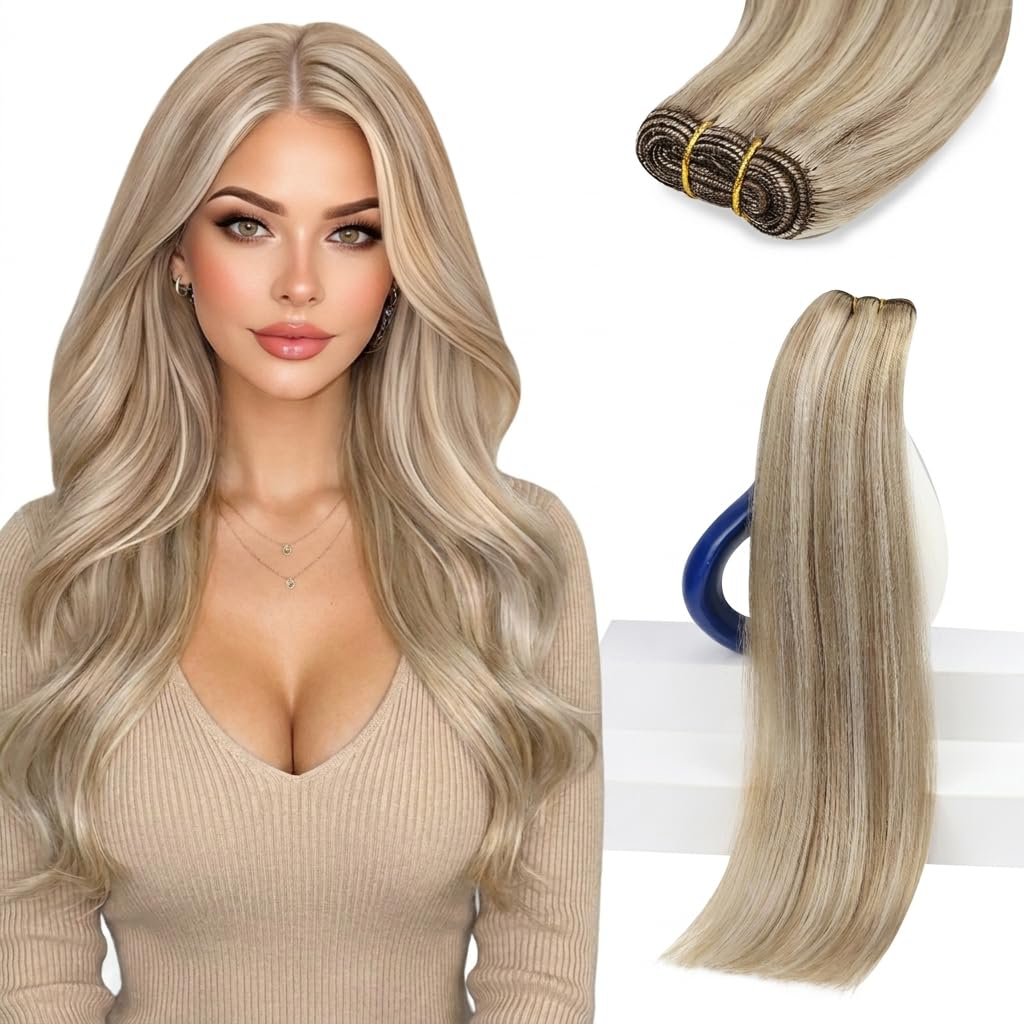
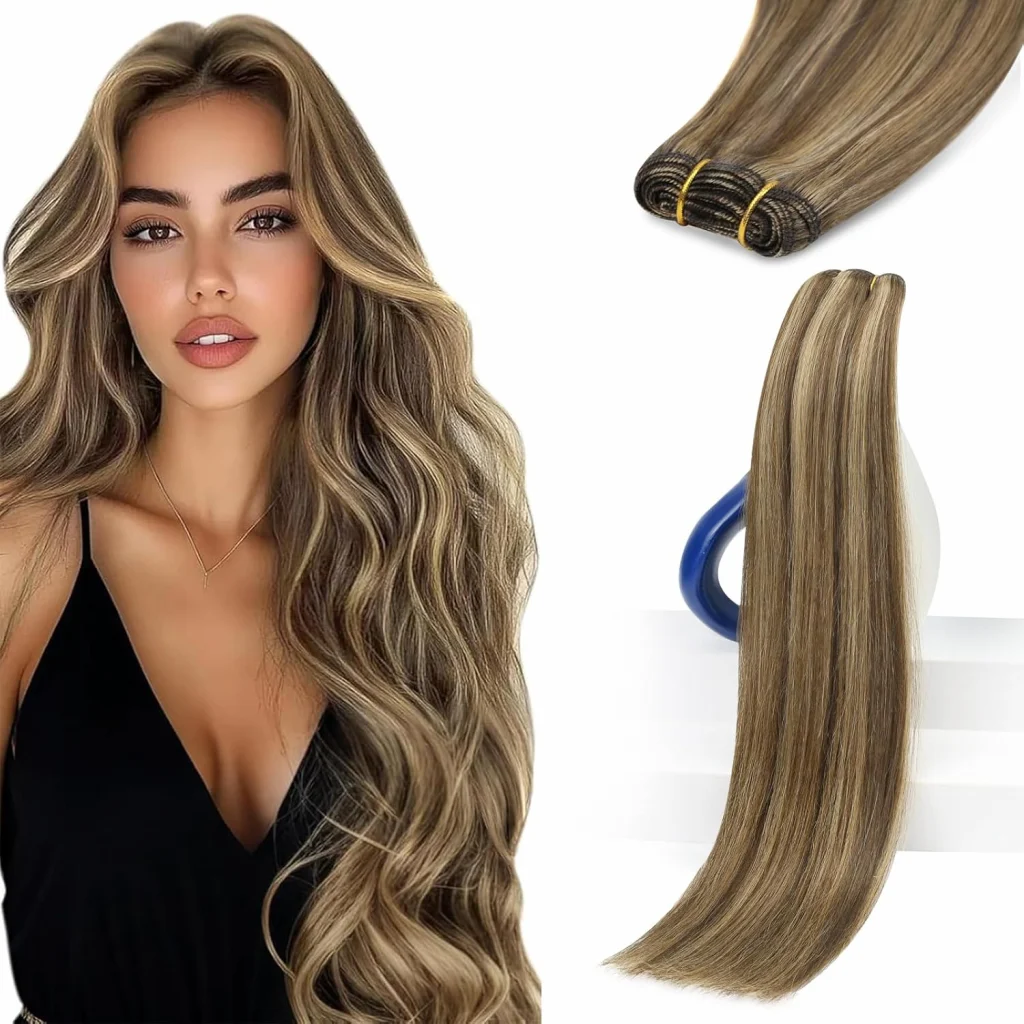
weft hair extensions, weft extensions,sew in extensions,wefts,hair sew in extensions,extension weft hair,sew in weave extensions,extension hair wefthair extensions on a weft,weft weave extensions,hair weave,weave hair extensions,hair weft,human hair weave,beaded weft extensions,sew in weft hair extensions,beaded extensions,human hair wefts,human hair weft extensions,hair weave bundles,tape weft hair extensions,weft hair extensions human hair,beaded weft hair extensions


