Summary: I-Tip1 hair extensions installation is one of the safest ways to add length and volume without glue or heat. Unlike traditional fusion methods, I-Tips are attached with silicone-lined beads that help protect natural hair. Whether you’re wondering how to put in I-Tip hair extensions, looking for an easy I-Tip hair extensions how-to apply guide, or planning your first professional installation, this step-by-step tutorial covers everything you need to know. In addition, you’ll discover the required tools, maintenance tips, and common mistakes to avoid.
Key Takeaways
- No glue, no heat – I-Tips are attached using small silicone-lined beads.
- Maintenance every 8–12 weeks – Needed as your natural hair grows.
- Heat limit – Never exceed 150°C (300°F) when styling human hair I-Tips.
Tools Needed for I-Tip Hair Extensions Installation
Before you begin, gather these essential tools for a smooth I-Tip hair extensions installation. This way, you’ll be fully prepared before starting the installation process.
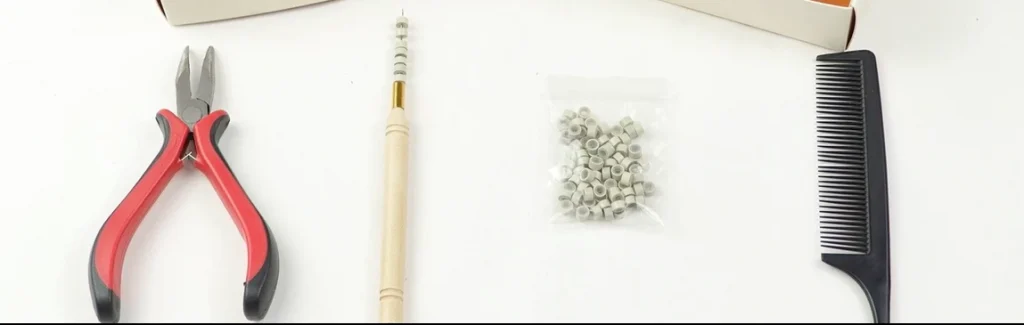
- I-Tip hair extensions – Choose high-quality Remy human hair, which has cuticles intact and facing the same direction to prevent tangling.
- Micro rings or nano rings – Ensure they are silicone-lined to protect your hair.
- Smooth-jaw pliers – These are professional hair extension pliers. Do not use hardware-store pliers, as they can crush the hair or scratch the beads, leading to breakage.
- Loop threader – A small tool that helps pull hair through the rings with ease.
- Tail comb – For precise sectioning.
How to Perform I-Tip Hair Extensions Installation
Here is the fundamental technique for how to put in I-Tip extensions using micro rings
First, divide your hair into clean, horizontal rows using the tail comb. Then, begin at the nape of your neck and work upward. Meanwhile, leave out the hairline and temple areas to prevent visible bumps and scalp irritation.
Next, take a small, thin subsection of natural hair that matches the extension strand. Afterward, slide a silicone-lined micro ring onto the hair, positioning it about 1–2 centimeters from the scalp. Otherwise, placing it too close may cause discomfort, while placing it too far away can lead to slippage.
After that, use the loop threader to pull the natural hair through the ring. Next, insert the I-shaped keratin tip alongside your natural hair. Finally, check that the tip is fully seated inside the bead before moving to the next step.
Finally, hold the ring in place with one hand. Then, clamp it firmly using smooth-jaw pliers until it becomes flat and oval-shaped. As a result, the extension should feel secure without pinching your scalp.
![How to put in i tip extensions 4[1]
I tip hair extensions installation](https://support.sunnyextensions.com/wp-content/uploads/2026/06/How_to_Put_in_I-Tip_Extensions_41.webp)
Position the Micro Ring
![How to put in i tip extensions 6[1]
I tip hair extensions installation](https://support.sunnyextensions.com/wp-content/uploads/2026/06/How_to_Put_in_I-Tip_Extensions_61.webp)
Insert the I-Tip
![How to put in i tip extensions 5[1]
I tip hair extensions installation](https://support.sunnyextensions.com/wp-content/uploads/2026/06/How_to_Put_in_I-Tip_Extensions_51.webp)
Clamp the Ring
I-Tip Hair Extensions Installation vs. Other Extension Methods
Although I-Tips are popular because they require no glue or heat, every extension method has unique advantages. The following comparison can help you choose the option that best fits your needs.
| Method | Pros | Cons |
| I-Tips | Glue-free, heat-free, reusable | Requires professional clamping, regular maintenance |
| Tape-ins | Quick application, flat to scalp | Shorter lifespan, not reusable |
| K-Tips | Long-lasting, seamless | Requires heat for application and removal |
If you’d like to see the process in action, watch the short installation video below. This visual guide makes each step easier to follow.
![How to put in i tip extensions 9[1]](https://support.sunnyextensions.com/wp-content/uploads/2026/06/How_to_Put_in_I-Tip_Extensions_91-1024x1024.webp)
![How to put in i tip extensions 10[1]
I tip hair extensions installation](https://support.sunnyextensions.com/wp-content/uploads/2026/06/How_to_Put_in_I-Tip_Extensions_101-1024x1024.webp)
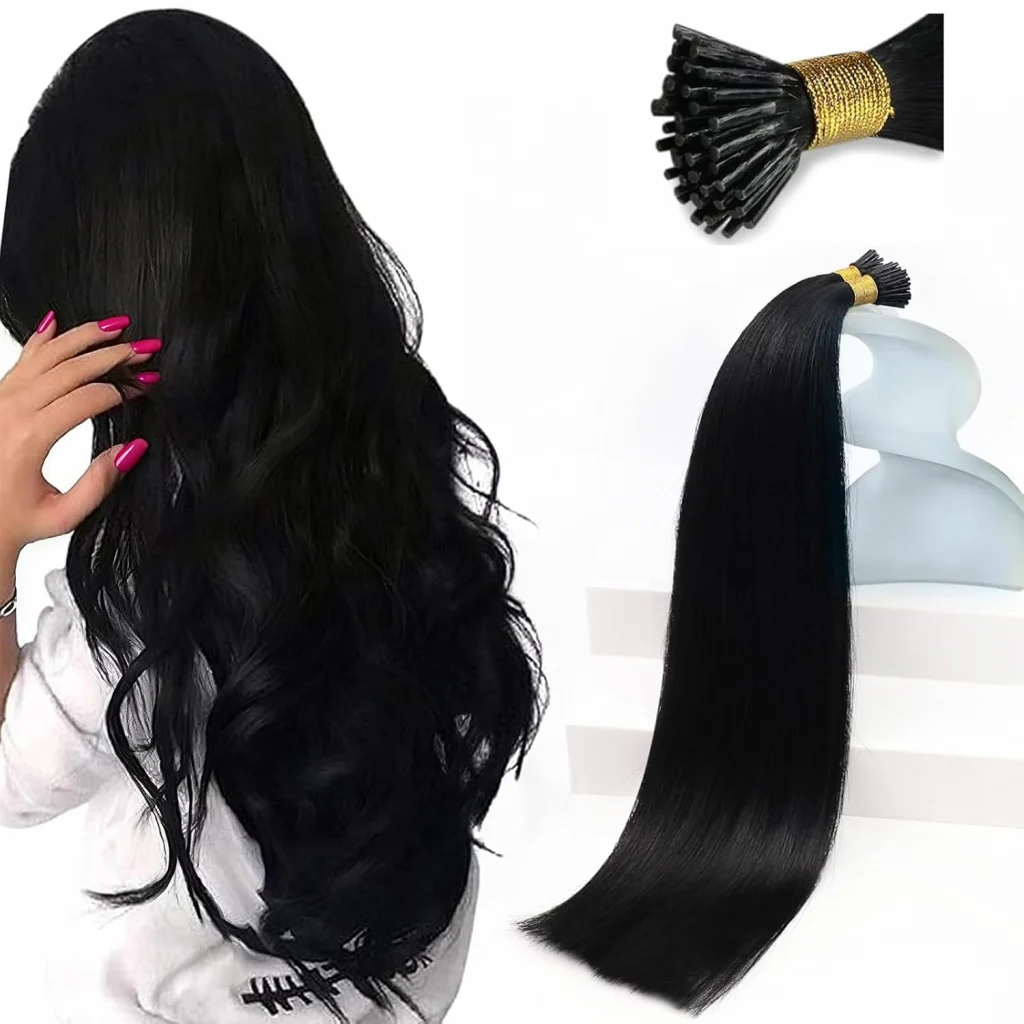
Overall, I-Tip hair extensions installation is a reliable and reusable method for achieving longer, fuller hair. However, proper placement and regular maintenance are essential for long-lasting results. By following these installation steps, you can enjoy a secure, comfortable fit while protecting your natural hair.
- The name “I-Tip” comes from the I-shaped keratin tip at the end of each extension strand. In simpler terms, it’s a firm, needle-like tip made of protein that connects securely to your natural hair. ↩︎
i tip hair extensions how to apply,itip extensions installation cost, itips install, keratin tip installation and how to put in i tip extensions yourself,how to put in i tip hair extensions,how to put in itip extensions,how to put in itip extensions yourself,how to put in itip hair extensions


