Summary: Knowing how to remove butterfly weft correctly is just as important as installing it properly. A careful removal process helps extend the lifespan of your beautiful butterfly weft hair extensions and protects your natural hair from unnecessary tension or damage.
Whether you are taking a break from your extensions or preparing for a fresh installation, this gentle step-by-step guide will show you how to remove butterfly weft safely and effectively, leaving your natural hair healthy, comfortable, and ready for your next style.
Key Takeaways: Safe Removal at a Glance
Before starting the removal process, remember these three essential steps:
- Preparation: Gather the correct tools, including curved extension pliers and a tail comb, then gently detangle your hair to minimize pulling and stress on your roots.
- Execution: Always work from the bottom row upward. Carefully open the micro beads and release your natural hair without forcing or pulling the butterfly weft extensions.
- Aftercare: After removal, nourish your natural hair with conditioning treatments and properly store your butterfly wefts hair extensions to maintain their quality for future use.
What Are Butterfly Weft Hair Extensions?
Butterfly weft hair extensions are a semi-permanent hair extension method designed to provide volume, length, and a natural-looking finish.
Unlike traditional machine-sewn wefts, butterfly wefts feature a flexible track design with small “wings” or attachment points. They are usually installed with micro beads (small silicone-lined metal rings), allowing the extensions to move naturally while providing a comfortable fit.
Understanding how butterfly hair extensions are attached is the first step to learning how to remove butterfly weft without causing unnecessary stress to your natural hair.
How Do I Prepare Before Removing Butterfly Weft Extensions?
Proper preparation is essential for safe removal. Taking a few extra minutes before starting can help prevent tangling, pulling, and unnecessary tension.
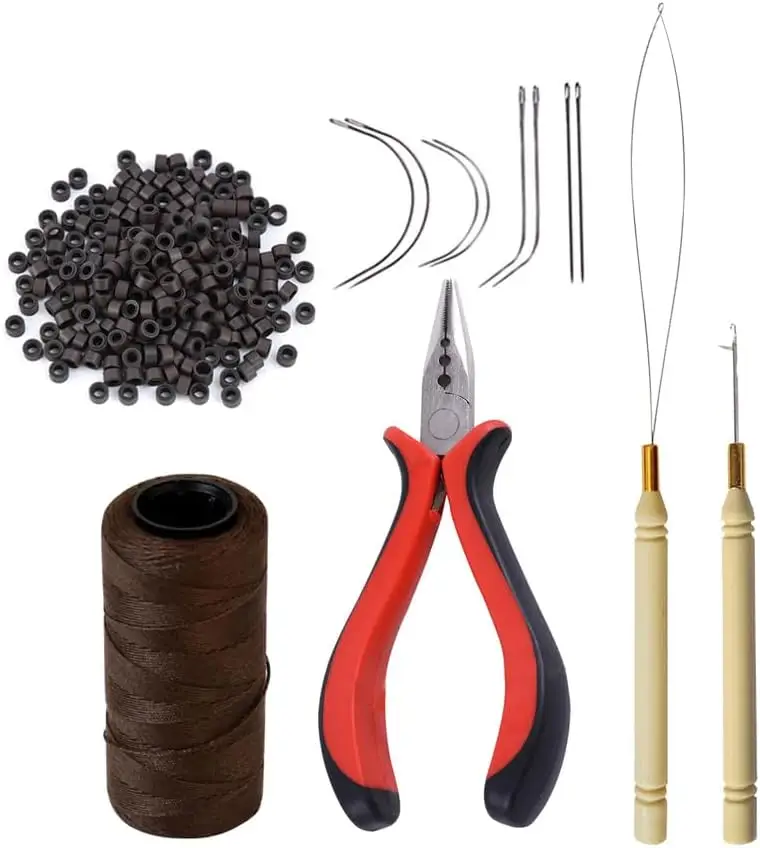
Essential Tools Checklist: Prepare the following tools before you begin:
- Hair extension pliers (curved nose pliers are recommended)
- Tail comb for sectioning
- Detangling brush
- Clean towel for placing removed wefts
Detangle Your Hair First: Before you remove butterfly weft hair extensions, gently brush through your natural hair and the extension pieces.
Always start from the ends and gradually work upward toward the roots. Removing tangles first helps prevent hair breakage and makes the removal process smoother.
Prepare Your Workspace: Choose a comfortable space with good lighting and a mirror. Having enough time and patience is important because rushing can cause unnecessary pulling on your natural hair.
How to Remove Butterfly Weft Hair Extensions Step by Step
If you are searching for how to remove butterfly weft, following the correct order is the key to protecting your hair and keeping your extensions reusable.
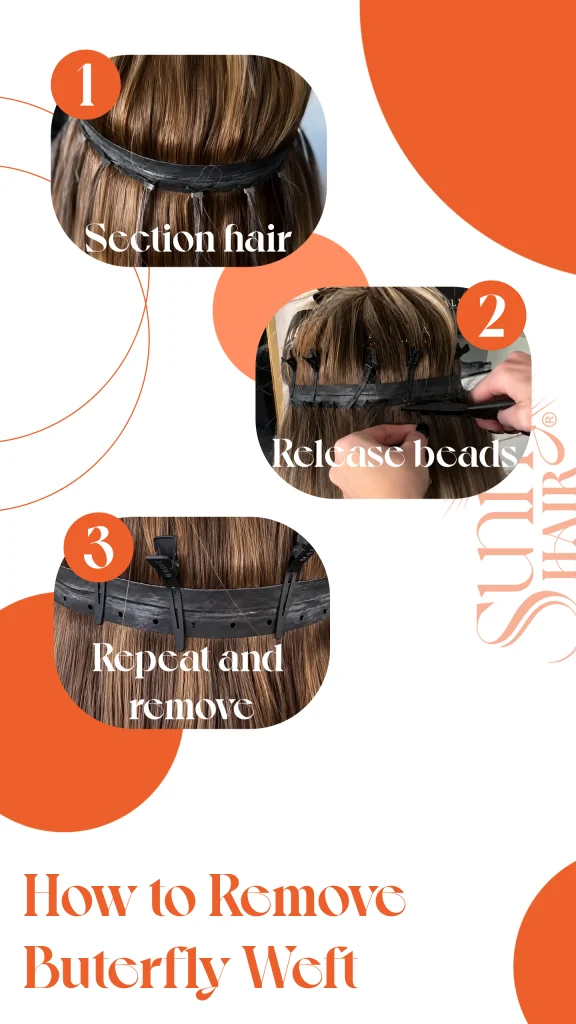
1.Locate the Micro Beads: Start with the lowest row of your butterfly weft extensions. Use the pointed end of your tail comb to create a clean section and carefully locate the micro beads holding the weft in place.
2.Open the Micro Beads Carefully: Using your curved extension pliers, gently squeeze the micro bead to open it. Only open the bead enough to release your natural hair. Avoid crushing or damaging the bead, as sharp edges may catch or pull your hair.
3. Release Your Natural Hair: Once the bead is open, slowly slide it away from your hair strands. Do not pull the weft downward if the bead is still attached. Gentle movements help prevent unnecessary shedding or breakage.
4. Remove the Hair From the Weft Attachment: After removing the beads, carefully separate your natural hair from the weft holes and open the “wing” attachment area of the extension. Take your time to avoid tangling the hair.
5. Slide the Butterfly Weft Out: Once your natural hair is completely released, gently slide the entire weft section out. Place each removed piece on a clean towel to prevent tangling.
6. Repeat and Move Upward: Systematically repeat this process for each weft, working from the lowest row up to the topmost one. This prevents the weft attachments from tangling with the hair that is still secured above.
Removal Dos and Don’ts for Butterfly Weft Extensions
| Do’s | Don’ts |
| Work in small sections for better control | Pull the weft while the micro bead is still closed |
| Use a tail comb to separate each attachment | Rush the removal process |
| Keep your pliers positioned correctly when opening beads | Force tangled sections apart |
| Ask someone to help with hard-to-see areas | Reuse damaged or misshaped micro beads |
| Remove extensions only when your hair is dry or slightly damp | Remove extensions when your hair is soaking wet |
What Should I Do After Removing Butterfly Weft Hair Extensions?
After you successfully remove butterfly weft hair extensions, your natural hair needs proper care before your next installation.
Natural Hair Aftercare
Your hair may need extra moisture after wearing extensions.
Wash your hair with a gentle, sulfate-free shampoo and apply a deep conditioner to restore hydration and softness.
Use a wide-tooth comb when detangling wet hair, starting from the ends and moving upward.
How to Store Butterfly Wefts
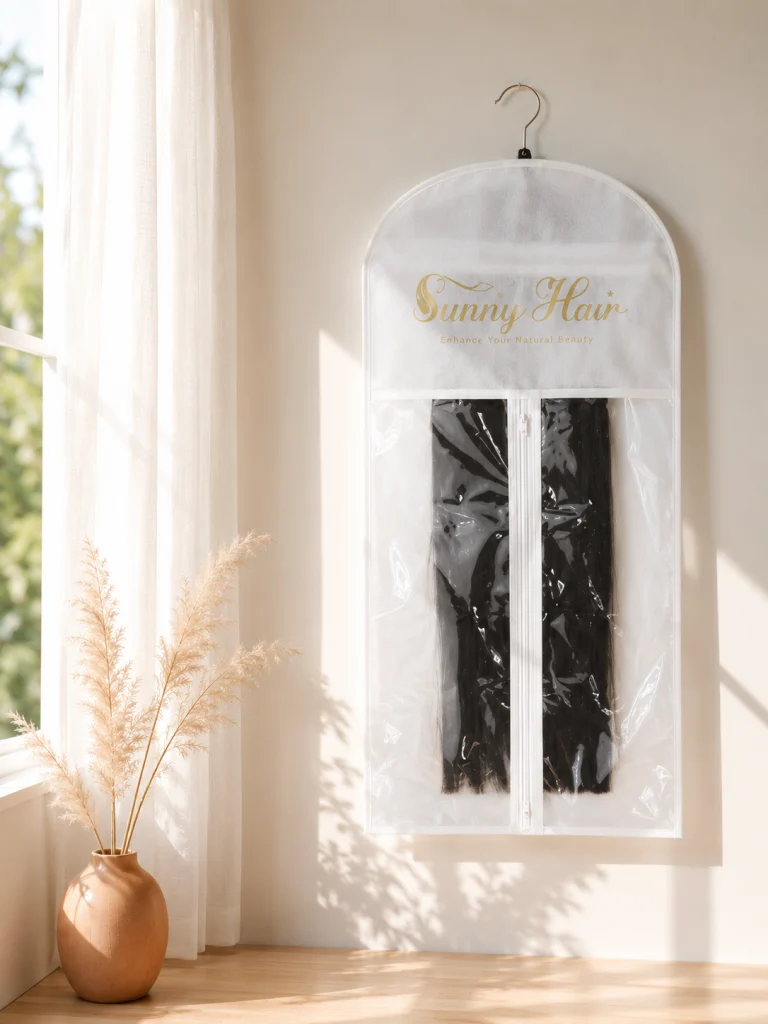
To maintain your butterfly wefts hair extensions, clean the extensions gently, allow them to dry completely, and store them flat in a cool, dry place.
Proper storage helps reduce tangling and keeps your butterfly weft hair extensions ready for future use.
FAQ
Need help?
We are here for you!
If you need help for your butterfly weft hair extensions, please feel free to contact us anytime. Our dedicated after-sales team is ready to provide you with the best service!


